Attaching a Care Label - Here’s How to Do It Right:
Why do you need a care label?
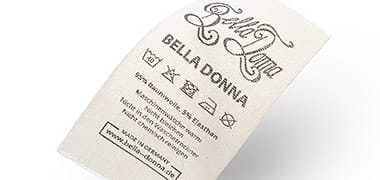
Care labels give you clear instructions for washing, drying, and caring for your textiles. For many products, they’re even required by law. Whether you sell handmade clothing or make it just for yourself, this step-by-step guide will help you attach your care labels securely and professionally.

How do you sew in care labels?
Author: Debora Smolders
Step 1: Prepare the label
If needed, fold the label in half and position it so that the readable side will face outward once it’s sewn in.
Step 2: Place the label in the seam
Insert your care label at the desired spot (for example, in the side seam), between the two layers of fabric. To prevent it from shifting before sewing, secure it with a fabric clip.
Step 3: Sew it in
Sew the side seam closed. The care label will be securely sewn in automatically.
Frequently Asked Questions About Care Labels:
Where can I create my own care labels?
At DORTEX, you can easily design your care labels online. Choose the material, design, and care symbols to match your textiles. You can also upload your logo and include all legally required care instructions. Create your own care labels here.
Are there no-sew alternatives for care labels?
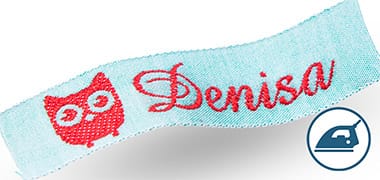
Yes! If you prefer not to sew labels in, you can apply your care symbols directly to the fabric with a textile stamp or an iron-on transfer. Both can be customized at DORTEX.
Where should you place a care label?
The label should be easy to find and read. The most common placements are:
- For tops: in the side seam, below the waist
- Alternatively: on the back of the collar or waistband, together with the size label
- For pants: in the seams at hip level

